Identity Information
Collect personal details from your users before the verification steps
The Identity Information node presents a form to collect personal details from your user. The data gathered here is used in later steps — for example, the Identity Document Check compares the name and date of birth entered here against the document scanned.
Two modes: individual or company
You can configure this step to collect either personal information (for an individual) or corporate information (for a legal entity / company).
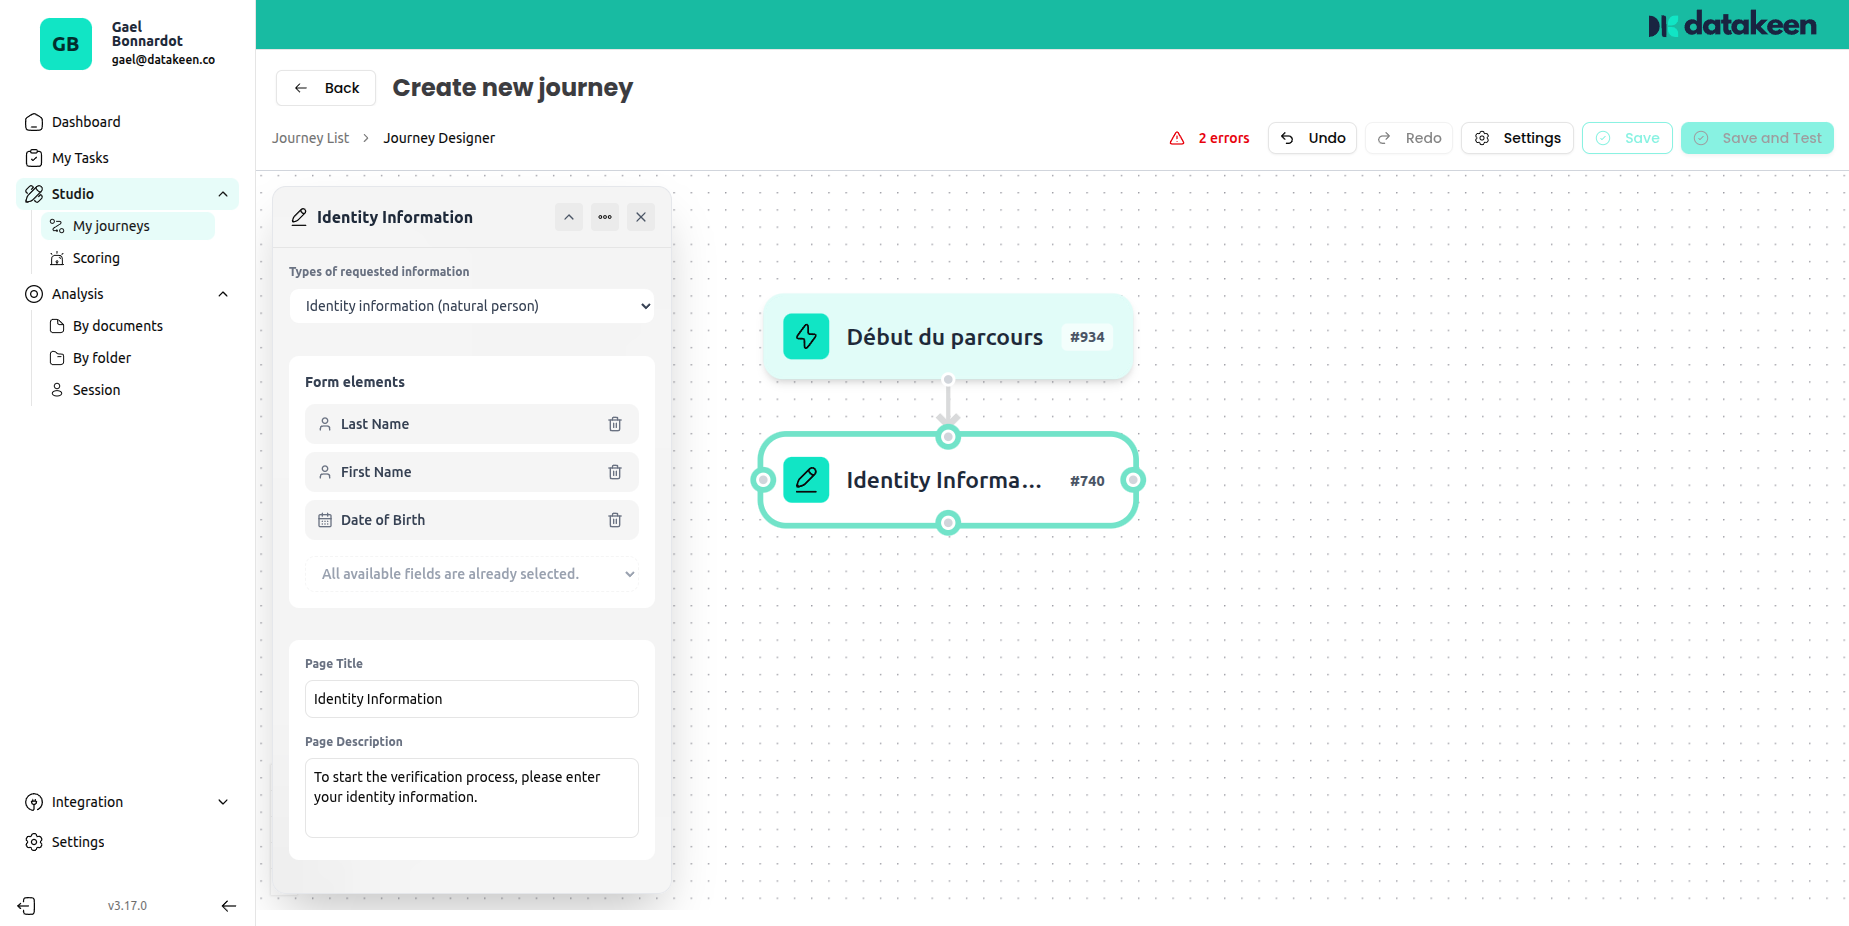
Individual
Collects the standard personal identity fields:
- Last name
- First name
- Date of birth
All fields shown in the designer are already available — simply toggle on the ones you need.
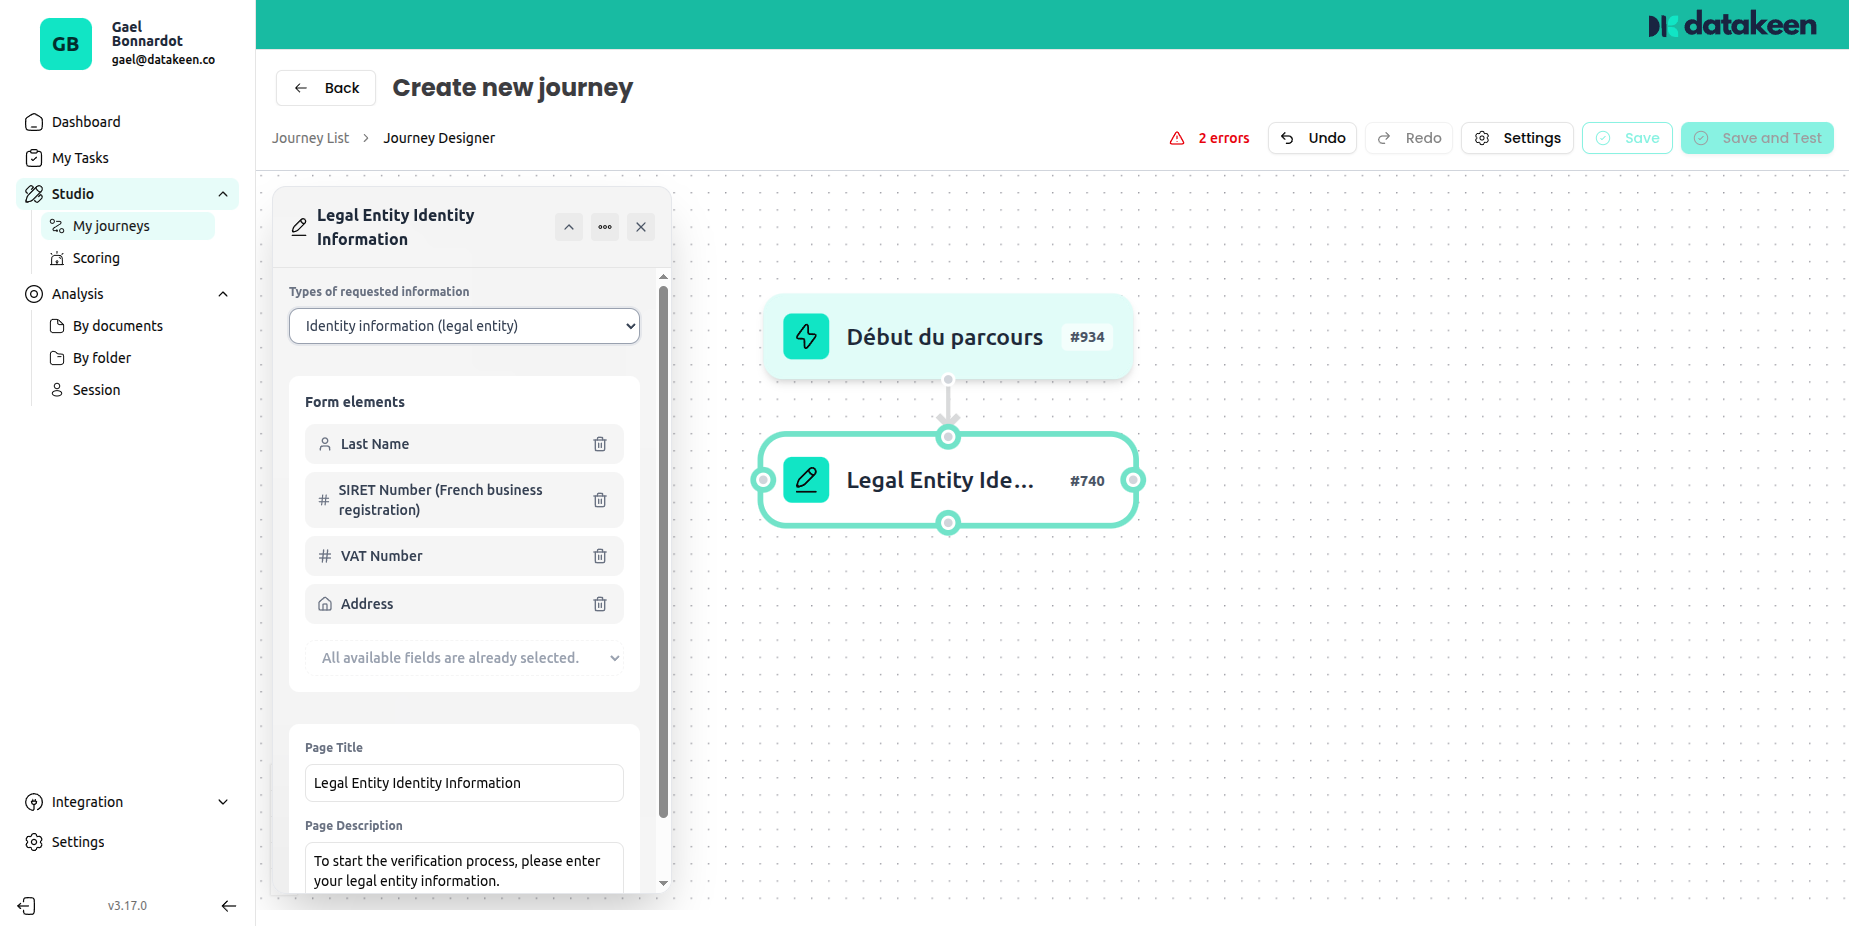
Company
Switches to corporate identity fields:
- Company name
- SIRET number
- VAT number (TVA)
- Address
Configuration options
Type of information
Use the dropdown at the top of the settings panel to choose between Individual and Company (legal entity).
Form fields
A set of pre-defined fields is available for each mode. Each field can be:
- Enabled — shown to the user and required
- Disabled — hidden from the user
Toggle on only the fields you actually need. Fewer fields = a simpler, faster experience for your users.
Page title and description
You can customise the title and the description text shown at the top of the form. This is a good place to explain why you're asking for this information.
Example:
"To begin, please enter your personal details. This information will be compared against your identity document."
How this data flows through the journey
The data entered in this step is stored in the session and can be:
- Cross-referenced by the Identity Document Check node (automatic name/DOB comparison)
- Used in Condition nodes (e.g. branch based on date of birth to check a user's age)
- Included in PDFs generated later in the journey
- Viewed by analysts in the back office alongside the verification results
Tips
- Always place this step before the Identity Document Check if you want Datakeen to verify that the document matches the user's declared identity.
- If you only need to verify a document without pre-declared identity, you can skip this step — the document check will still extract and verify the data on the document itself.
Updated 2 days ago