Save API results to the Back Office
Learn how to save API results to the Datakeen Back Office
When making API calls you can save the results to your Datakeen back office.
This feature is only available for users with an API access and a platform account
Making your first call with save : True
You can save API results and detected documents to your Datakeen back office by adding the save parameter to your API calls like so :
Example for reco/id :
{
  "paramDict":{
    "files":[
    	"data:image/jpg;base64,A13...",
      "data:image/jpg;base64,B45..."
    ],
    "userInput":{
      "firstName": "Jean",
      "lastName": "Dupont",
    },
    "save":true
  }
}
Example for reco/bankdetails :
{
  "paramDict":{
    "file":"data:image/jpg;base64,A13...",
    "userInput":{
      "firstName": "Jean",
      "lastName": "Dupont",
    },
    "save":true
  }
}
In the API answer you will receive a "verificationId" corresponding to the unique verification identifier in the Datakeen back office and a "verificationUrl" corresponding to the URL to view the verification.
If you use a X-Correlation-ID in your headers the verificationId will be you Correlation-ID
Making other API calls for the same person or entity
You might want to make a new API call but for the same person or entity or group of entities.
In that case you must add the verificationId in your API call, like so :
Example for reco/id :
{
  "paramDict":{
    "files":[
    	"data:image/jpg;base64,A13...",
      "data:image/jpg;base64,B45..."
    ],
    "userInput":{
      "firstName": "Jean",
      "lastName": "Dupont",
    },
    "save":true,
    "verificationId":"ABCD1234"
  }
}
Example for reco/bankdetails :
{
  "paramDict":{
    "file":"data:image/jpg;base64,A13...",
    "userInput":{
      "firstName": "Jean",
      "lastName": "Dupont",
    },
    "save":true,
     "verificationId":"ABCD1234"
  }
}
Finding the analysis on your back office
Connect to your Datakeen Back Office.
Navigate to "Analysis"
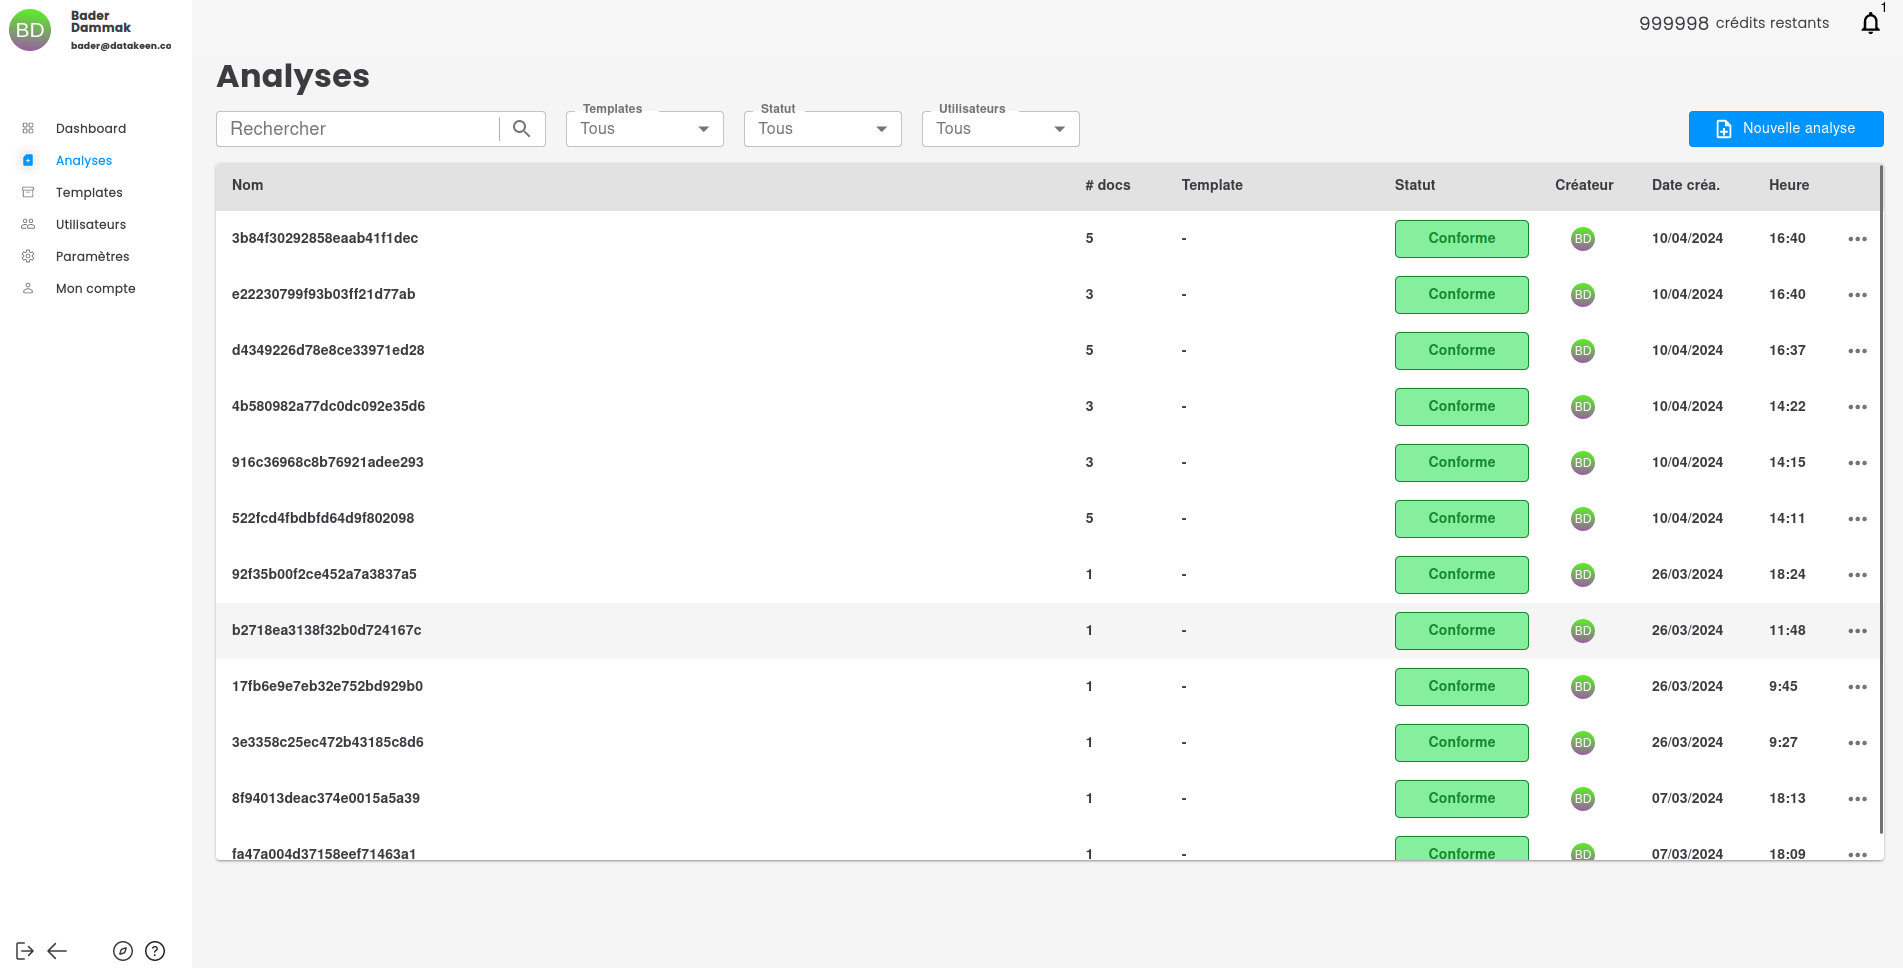
Click on the analysis with the name of your verificationId, you can use the search bar if needed.
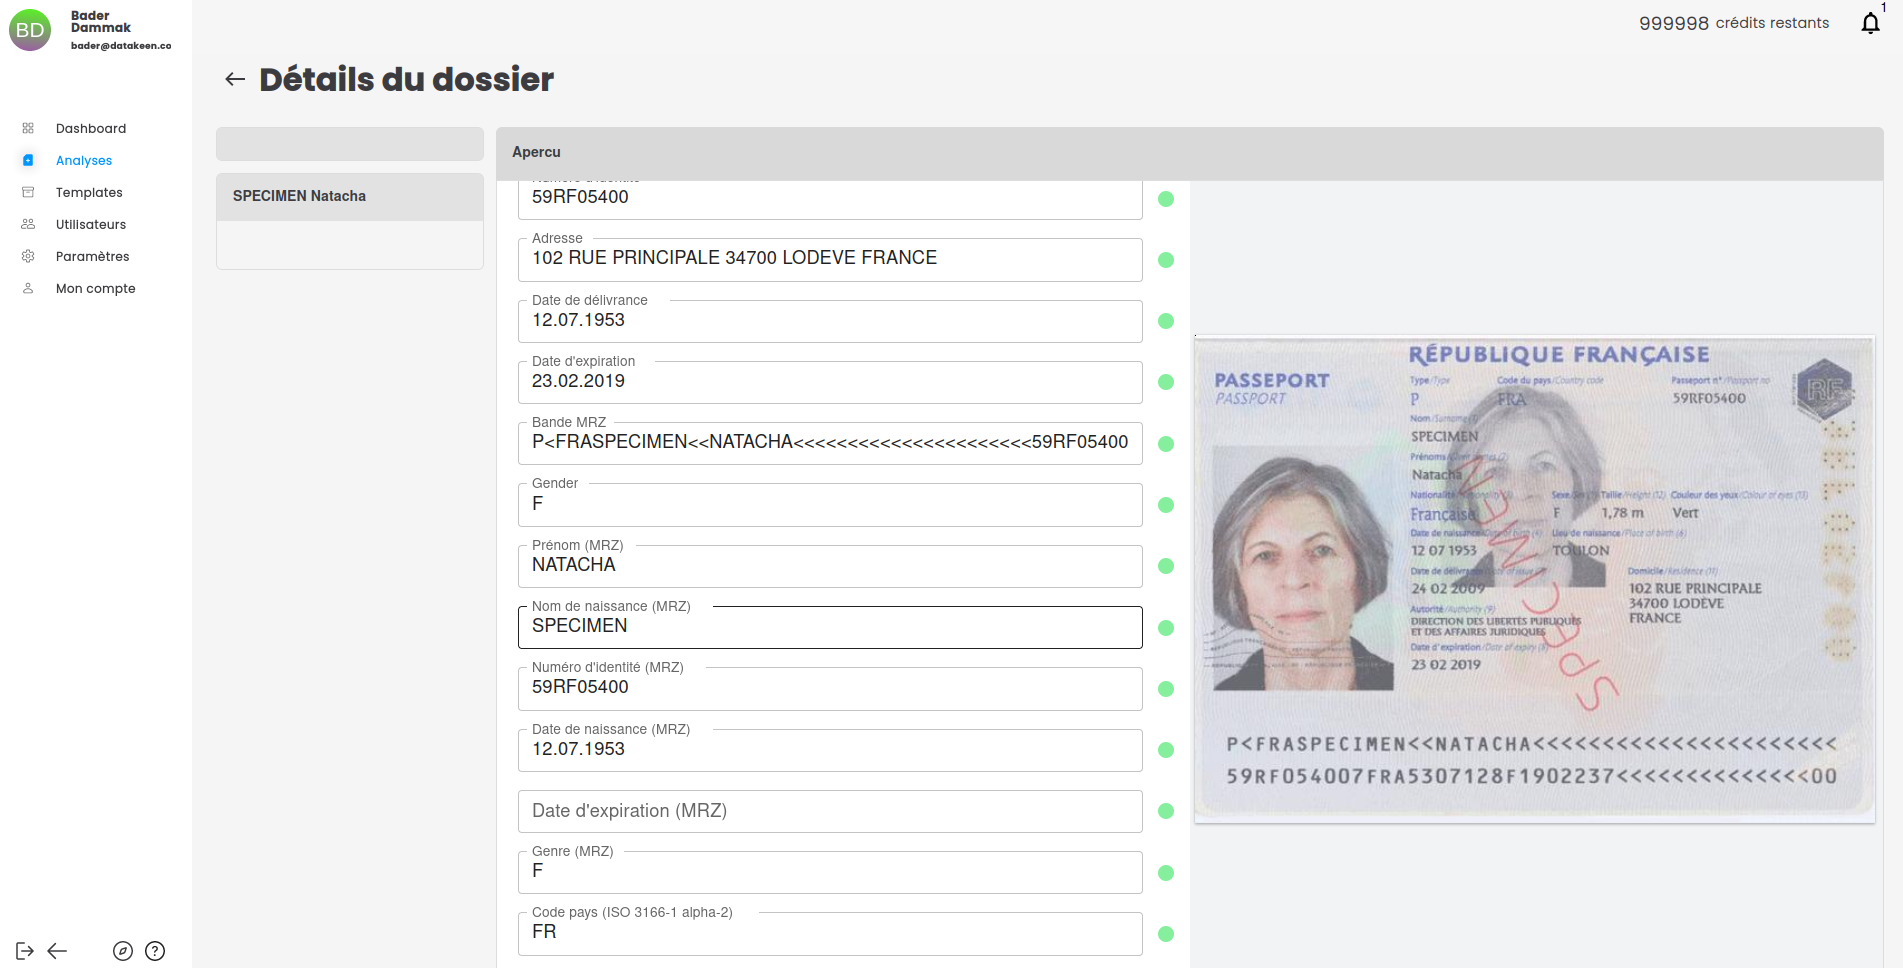
You will see all the relevant extractions in the fields :
Adding a webhook URL to receive decision events
Navigate to the Settings sections in the left menu.
Navigate then to the Integration tab and enter the URL you wish to receive decision events
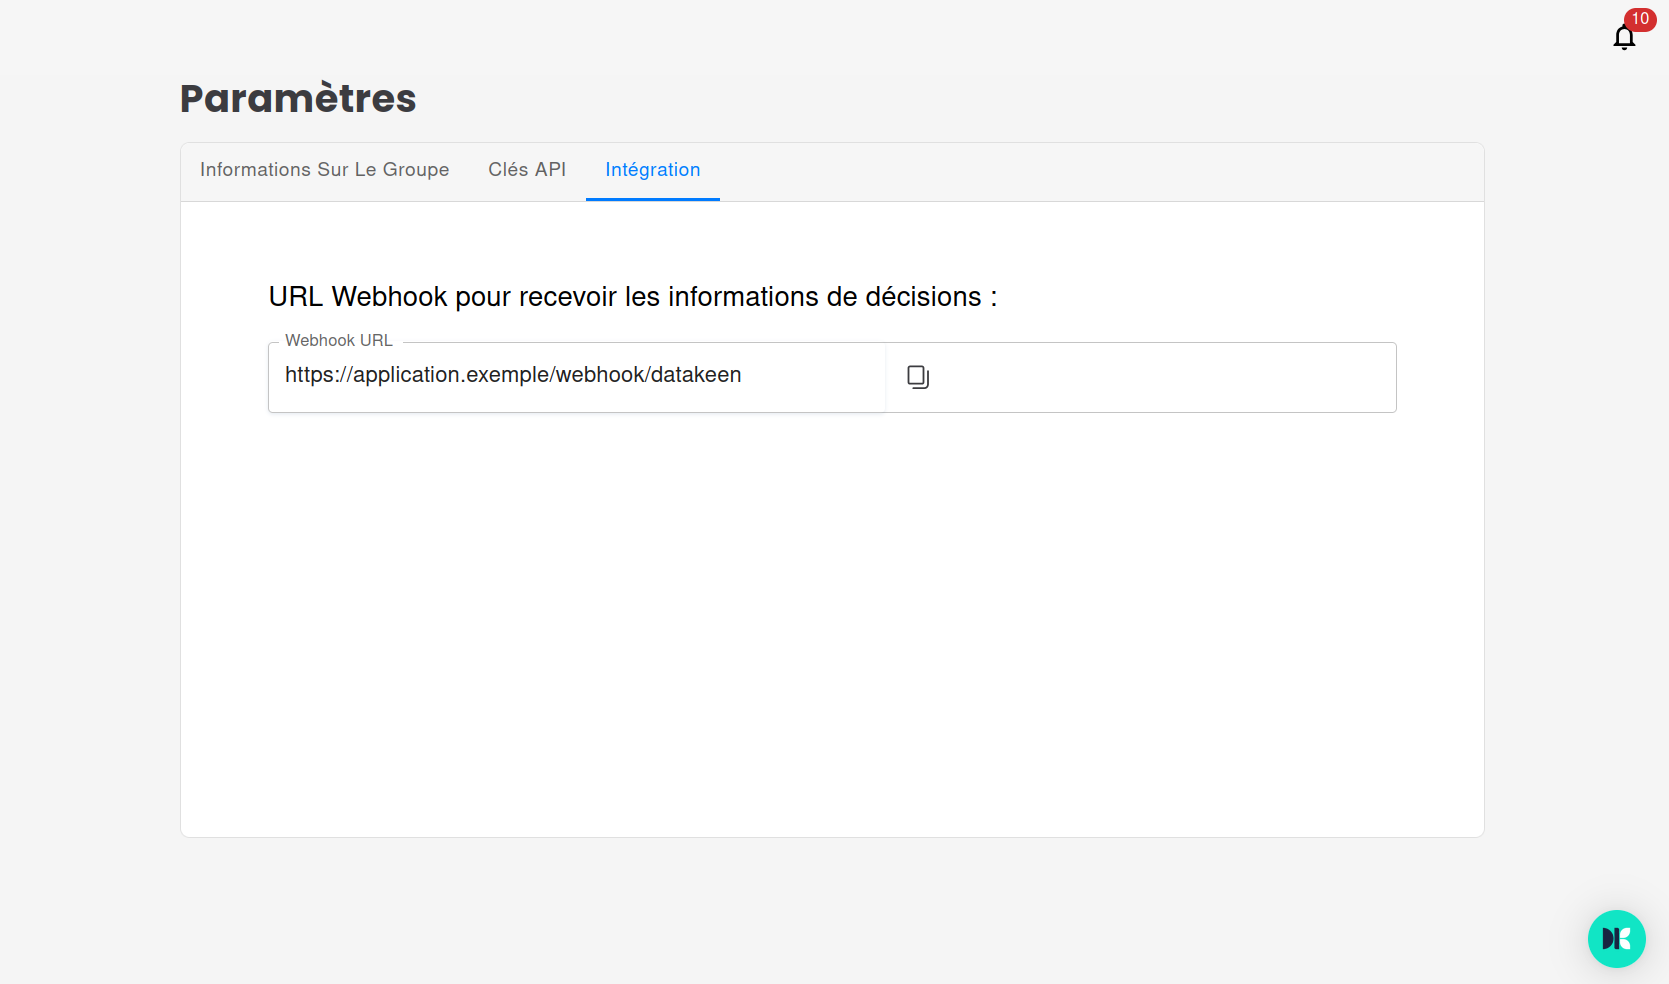
Every time a user manually validates or rejects an analysis you will receive an event on the webhook URL you defined.
The request is a POST request in the following format:
{
  "analysisId": "680a29939ae31600116ae34b",
  "entityId": "680a29939ae31600116ae358",
  "correlationId": "TEST-123456",
  "sesssionId": "ca43a641d3a8e702dc2dbcd4",
  "newStatus": "user_rejected"
}
The possible values for newStatus are:
- user_approved : the person who verified the analysis approved the provided documents
- user_rejected : the person who verified the analysis rejected the provided documents
Updated 4 months ago
Learn how to group multiple API Calls together either full API or API and Back Office